
In the world of eCommerce, a smooth checkout experience can make all the difference. With the WooCommerce Checkout Field Editor, you have the power to tailor your checkout process to fit your brand's needs. This handy plugin allows you to add, remove, and customize fields, ensuring that your customers have a seamless shopping experience. Whether you're looking to gather specific information or simplify the process, this tool can help you achieve that.
Key Takeaways
- Personalize your checkout fields to match your brand identity.
- Easily streamline the checkout process by removing unnecessary fields.
- Collect vital customer data through custom fields.
- Utilize drag-and-drop functionality for quick adjustments.
- Integrate with other WooCommerce tools for enhanced performance.
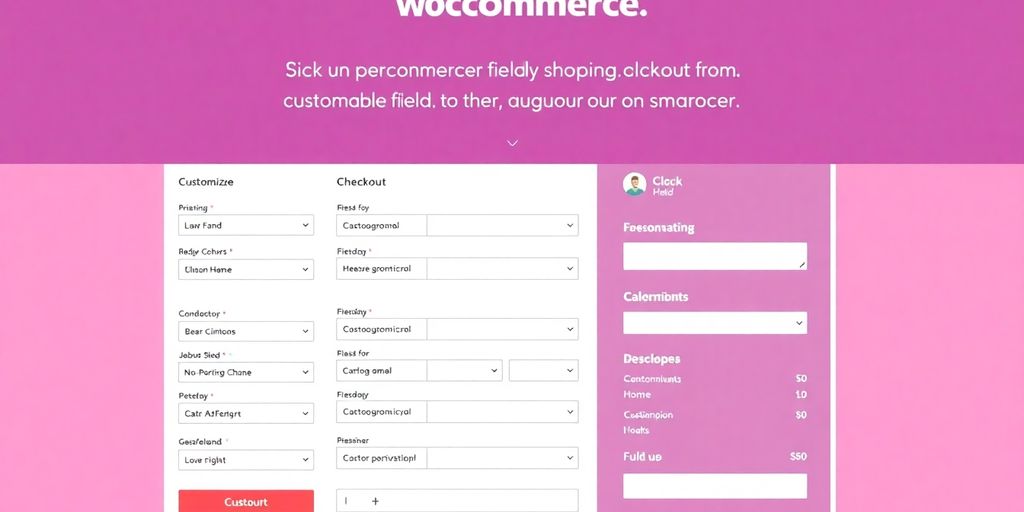
Customize Your Checkout Experience
Personalize Fields for Your Brand
When you play around with your checkout page, you can add your personal touch to every field. This is where you show off your brand’s personality with colors, labels, and layout details that match your overall style. It’s all about making your store feel like home. Check out the benefits of this custom checkout plugin and see how it fits right in with your branding.
Simplify the Checkout Process
A simpler checkout means fewer headaches for you and your customers. You can remove extra steps, rearrange fields, or even hide sections that aren’t needed. Here are a few tips to keep it straightforward:
- Remove redundant fields that slow down checkouts.
- Organize fields in an order that feels natural.
- Use clear, simple language to guide your customers.
Keeping it simple can make the difference between a finished order and an abandoned cart.
Gather Essential Customer Data
Collecting the right info from your customers is key. Not every field is necessary, but the right ones can help you learn more about who is buying from you. Below is a quick table that outlines which fields you might consider essential:
These customization choices give you a neat way to understand your customers better and improve services along the way. Keep experimenting until your checkout feels just right!
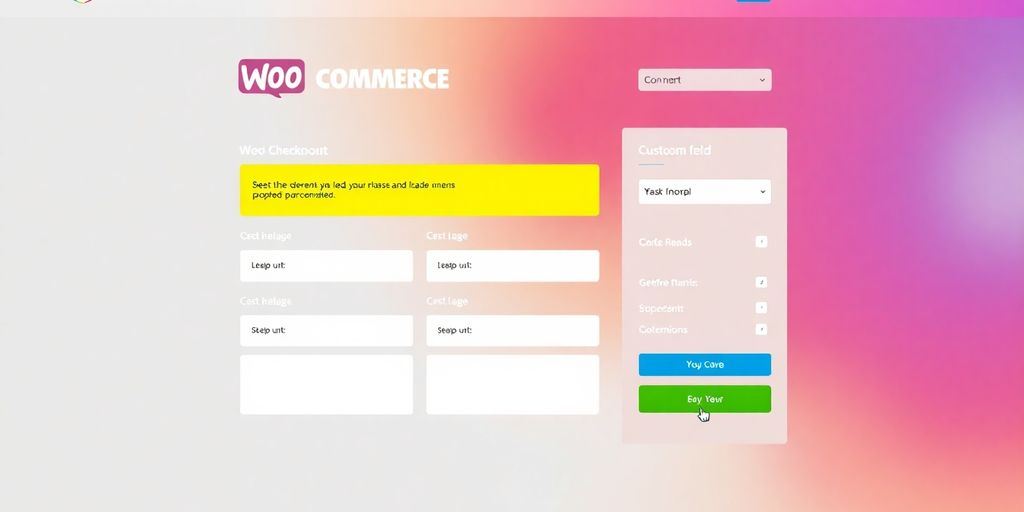
Key Features of WooCommerce Checkout Field Editor
Flexible Field Types
When you use the WooCommerce Checkout Field Editor, you get various types of fields to suit your store’s needs. Whether it's text, checkboxes, or date fields, you can set them up easily. You also have the option to integrate a bit of custom code for more fine-tuning if you want that extra touch. Here’s what you can usually pick from:
- Text fields for collecting names and addresses
- Radio buttons or checkboxes for selections
- Date or numeric inputs when you need specific info
Remember, a lot of these choices can really save you time when you’re trying to make the checkout experience yours.
Easy Drag-and-Drop Functionality
One of the neat things about this tool is its drag-and-drop setup. Instead of scrolling through endless settings, you simply move your fields around to build the layout you like. The editor keeps things practical, so you can quickly decide what stays and what goes. Check out a quick look at what you might do:
This approach lets you get things done without fuss. It's straightforward and gets your checkout page looking just how you want it.
Conditional Logic for Fields
Sometimes, you might want certain fields to show only when needed — and that's where conditional logic steps in. With this feature, the form changes on the fly based on the customer's inputs. It’s like having a checkout form that thinks on its feet:
- You show extra options only when necessary
- You keep the form clean for most users
- You collect data without overwhelming your customers
This conditional setup makes your checkout feel personalized without adding extra steps for everyone.
Overall, using the WooCommerce Checkout Field Editor gives you a lot of room to shape the experience exactly as you want it. It’s designed to be simple to use, even if you're not a pro at building websites.
Boost Conversions with Custom Fields
When you choose to integrate custom fields into your checkout, you’re basically setting up a way to keep customers happy while also boosting your sales. Custom fields make the checkout experience smoother, and that helps in moving people from browsing to buying.
Reduce Cart Abandonment
Customizing your checkout fields can clear out unnecessary clutter that often causes customers to leave before completing their orders. By removing distractions and only asking for what you really need, you give shoppers a reason to finish their purchase. Here are a few ideas:
- Streamline input fields so customers can check out quickly.
- Remove confusing steps that slow down the buying process.
- Optimize the layout for both desktop and mobile views (mobile-friendly checkout).
Below is a simple table showing how a customized checkout can impact conversion rates compared to a default setup:
Enhance User Satisfaction
Let’s be honest, customers appreciate a simple, hassle-free checkout experience. A well-organized checkout makes the process clear and friendly so that your buyers know exactly what they’re doing. A well-organized checkout page makes the buying process a breeze.
Consider these adjustments for a more satisfying checkout:
- Use clear instructions so every step is understood easily.
- Design the form with enough spacing and logical order.
- Offer immediate feedback when users enter data incorrectly.
By making these small changes, you help users feel more comfortable with their purchase decisions and reduce the chance of errors during checkout.
Encourage Additional Purchases
When customers see tailored options during checkout, they’re more likely to add extra items to their order. Custom fields can prompt buyers with suggestions or add-on options without feeling forced. This keeps the process casual and friendly.
Here’s how you can encourage more purchases:
- Insert optional fields that suggest complementary products.
- Set up sections that highlight special deals or discounts.
- Provide extra services or upgrades that customers might find useful.
Custom fields let you suggest add-ons in a natural way, making your checkout feel more like a personalized shopping experience.
These strategies can help you turn a regular checkout into a mini sales opportunity, increasing the overall value of each order.
Streamline Your Checkout Process
When it comes to simplifying your checkout, you get to decide exactly what your customers see. This means you can focus on showing only the most important fields and remove everything that might slow the buyer down.
Remove Unnecessary Fields
You should start by eliminating clutter. Think about leaving out details that don’t really matter. This small change can make a big difference. Keeping it simple can really boost your checkout speed. Try these steps:
- Identify fields that rarely get used
- Test your checkout without them
- Gather feedback from actual users
Streamlining means a faster and smoother checkout experience, so your customers aren’t bogged down with unnecessary questions.
Rearrange Field Order
You can also mix things up. Changing the order of your fields might just be the tweak that your checkout needs. Use a simple drag-and-drop process to test different sequences. Consider the following:
- Place important fields like billing details upfront
- Organize shipping info next
- Put less critical details at the end
Sometimes, a reordering can make the whole process feel a lot more intuitive. Tools like custom tool give you the flexibility to experiment until everything feels just right.
Add New Custom Sections
Custom sections allow you to insert extra bits of information without cluttering the main flow. This is perfect if you want to include special instructions or a personal note area. Keep these tips in mind when adding new sections:
- Keep the section clearly separated from standard fields
- Use it to offer additional options or customer comments
- Make sure it doesn’t interrupt the main flow of the checkout
By dedicating a specific area for added details, you ensure the core checkout process remains clean and focused. Experiment with different setups using tools like custom tool to see what best fits your store’s vibe.
Overall, streamlining your checkout process isn’t just about cutting down on fields—it’s about making the buying experience smoother and more inviting for your customers.
Integrate with Other WooCommerce Tools
Integrating your checkout field system with other WooCommerce tools can really make things run smoother. You get more control over how your store functions. Plus, you can mix and match setups to suit different customer habits. Let’s break it down:
Compatibility with Popular Plugins
You might already have plugins running in your store. The good news is that most of them work well together. When you add a checkout editor into the mix, you can easily keep your favorite add-ons on board. This means you won't have to worry if the plugins you love conflict with your custom fields. Your checkout page now works better with your favorite plugins.
- You can connect with payment gateways.
- Inventory and shipping solutions are supported.
- Customer account systems keep syncing with your fields.
Enhance Functionality with Add-ons
Sometimes, the standard set just isn’t enough. That’s where add-ons come in. When you incorporate the right add-ons, your checkout process picks up neat little extra features. They work hand in hand with your custom field setup to open up new options. Consider these steps:
- Install supportive add-ons to extend field options.
- Configure the settings to match the layout of your store.
- Verify that each tool works nicely with one another.
This setup helps you keep everything organized without extra hassle.
Optimize User Experience Across Platforms
Integrations don’t just boost your backend. They also help shape a better page for your customers, whether they shop on their phones or desktops. Here’s a compact summary of how to win over users:
Remember, a checkout page that plays well with different tools means a smoother ride for your customers, no matter how they shop.
By linking your custom checkout features with a checkout editor, you ensure that all these tools work in sync, giving you consistent performance across all devices.
Download and Install the Plugin
Step-by-Step Installation Guide
When you’re ready to try out the plugin, start by downloading the latest zip file. Here’s a quick plan:
- Download the zip file from your WooCommerce account.
- Open your WordPress dashboard and go to the Plugins section.
- Use the uploader to add the new plugin files.
- Finally, hit the Activate button to get it live.
For a bit more about this process, check out custom WooCommerce checkout for extra insights.
Accessing the Admin Panel
After activating the plugin, head over to your WordPress admin panel. The plugin adds a new menu under WooCommerce so you can quickly manage the checkout fields. Follow these simple points:
- Log into your WordPress dashboard.
- Look for the new WooCommerce section labeled 'Checkout Fields.'
- Adjust settings and re-order fields at your leisure.
Exploring Demo Features
The demo features allow you to see what the plugin can do before you commit to changes. This is helpful if you’re new to tweaking checkout forms. In the demo, you might try different field settings to see how they affect the checkout page layout.
If you’re testing out the demo features, take a moment to note any changes so you can replicate successful configurations. This hands-on review is a great way to learn what works best for your store.
By following these steps, you should have everything set up in no time. Enjoy testing the different options and making your checkout experience your own!
Real-World Applications of Custom Fields
Case Studies of Successful Stores
When you look at different stores, you'll see that adding custom fields can really change how orders are handled. Check out the table below for some real examples:
These examples show that even small tweaks can make a big difference. The real test is how well it works for you. Also, using custom checkout fields might help you notice similar changes in your business.
Feedback from Users
Users tell you that custom fields give them a direct way to tailor the checkout process. Here are some points many have mentioned:
- They appreciate being able to tailor data input to fit their needs.
- They notice fewer mistakes when orders are placed.
- They find it easier to manage follow-up information.
Remember, each store might see different results, but taking user feedback seriously can guide you in making better decisions for your checkout process.
You'll often hear customers recommend trying custom checkout fields as a simple way to modify their checkout without too much hassle.
Best Practices for Implementation
Adopting custom fields isn't just about adding them randomly—you need a plan. To help you get it right, consider these practices:
- Make a list of the fields that matter for your orders.
- Arrange them logically so customers know what to expect.
- Test the checkout process to see how it performs in real orders.
Using these steps, you can ensure that your custom fields are set up in a way that fits your store. It’s a straightforward approach that lets you gradually improve your checkout experience with tools like custom checkout fields.
Custom fields can be very useful in real life. They help businesses collect specific information that can improve customer experiences. For example, a store can use custom fields to ask customers about their preferences, making it easier to suggest products they might like. This not only helps customers find what they want but also boosts sales for the store. If you want to learn more about how to use custom fields effectively, visit our website today!
Wrapping It Up
So there you have it! Customizing your WooCommerce checkout fields can really make a difference. It’s all about making the shopping experience smoother for your customers. With the right tools, like the WooCommerce Checkout Field Editor, you can easily tweak things to fit your brand and gather the info you need. Plus, a more personalized checkout can help reduce cart abandonment and boost sales. Give it a shot, and see how these small changes can lead to big results!
Frequently Asked Questions
What is the WooCommerce Checkout Field Editor?
The WooCommerce Checkout Field Editor is a tool that lets you change the fields on your checkout page. You can add, remove, or change fields to make the checkout process better for your customers.
How do I install the plugin?
To install the plugin, go to your WordPress dashboard, find the Plugins section, and click on 'Add New'. Search for 'WooCommerce Checkout Field Editor', install it, and then activate it.
Can I customize fields without coding?
Yes! The plugin allows you to customize fields using a simple drag-and-drop interface, so you don’t need to know any coding.
What types of fields can I add?
You can add various types of fields like text boxes, checkboxes, dropdowns, and more to gather information from your customers.
Will this tool help reduce cart abandonment?
Yes, by simplifying the checkout process and removing unnecessary fields, you can make it easier for customers to complete their purchases, which can help reduce cart abandonment.
Is the plugin compatible with other WooCommerce tools?
Absolutely! The WooCommerce Checkout Field Editor works well with many other WooCommerce plugins, enhancing your store's functionality.