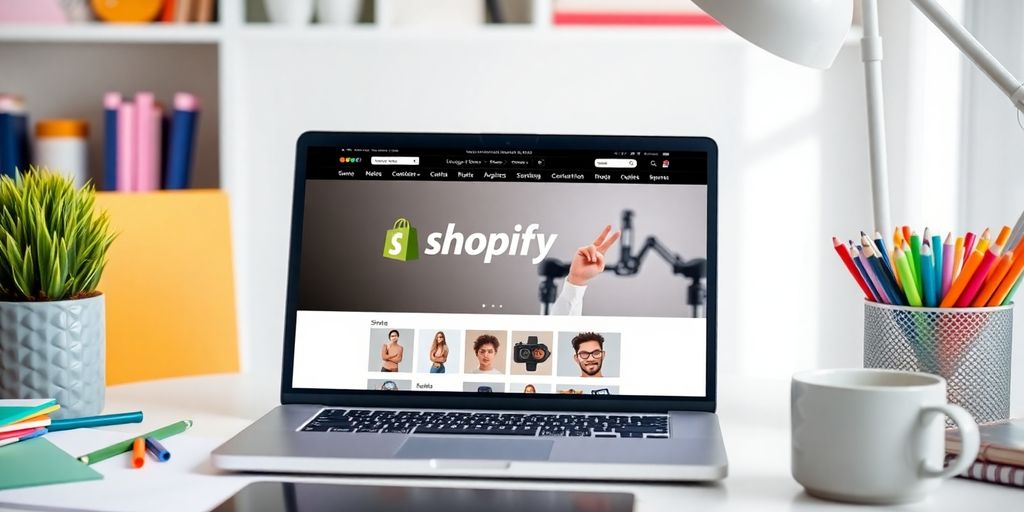

Starting an online store can seem overwhelming, especially if you’re new to e-commerce. But with Shopify, it doesn’t have to be. This guide will walk you through the steps on how to set up your Shopify store in 2025, making the process as straightforward as possible. Whether you're launching a side hustle or a full-fledged business, you'll find everything you need to get your store up and running smoothly.
Key Takeaways
- Create your Shopify account and choose a plan that fits your needs.
- Select a theme and customize your store's layout to reflect your brand.
- Upload product images and write engaging descriptions to attract buyers.
- Set up payment options and understand any fees involved.
- Launch your store and start promoting it to reach your target audience.
Getting Started With Shopify
Okay, so you're ready to jump into the world of e-commerce with Shopify? Awesome! It's a solid platform, and getting started is easier than you might think. Let's break down the initial steps to get your store up and running.
Creating Your Shopify Account
First things first, you gotta sign up! Head over to the Shopify website and look for the "Start free trial" button. They usually offer a trial period, so you can poke around before committing. You'll need to provide an email address, create a password, and give your store a name. Don't stress too much about the name; you can always change it later. This name will serve as a temporary website address. Shopify will then ask a few questions about what you plan to sell and where you're located. This helps them tailor the setup process a bit. It's pretty straightforward, but pay attention to the details. Make sure you choose a secure password!
Choosing the Right Plan
Shopify offers a few different plans, and picking the right one depends on your needs and budget. Here's a quick rundown:
- Basic: Good for new businesses just starting out. It has the essential features you need to get selling.
- Shopify: A step up from Basic, offering lower transaction fees and more advanced reporting. This is a good choice if you're seeing some growth.
- Advanced: The most comprehensive plan, with the lowest transaction fees and advanced features like third-party calculated shipping rates. Best for established businesses with higher sales volumes.
Consider your current sales volume, the features you need, and your budget when making your decision. You can always upgrade later as your business grows. Don't forget to check out the Shopify admin dashboard to familiarize yourself with the platform.
Exploring the Dashboard
Once you've created your account, you'll be greeted by the Shopify dashboard. This is your command center! Take some time to click around and get familiar with the different sections. On the left-hand side, you'll find menus for things like:
- Orders: Where you'll manage your incoming orders.
- Products: Where you'll add and edit your products.
- Customers: Where you'll see information about your customers.
- Analytics: Where you can track your store's performance.
- Online Store: Where you'll customize the look and feel of your store.
It might seem overwhelming at first, but don't worry. Just take it one step at a time. The dashboard is designed to be pretty intuitive, and there are plenty of resources available if you get stuck. Shopify also has a great help center with articles and tutorials to guide you. So, take a deep breath, explore, and don't be afraid to experiment!
Designing Your Storefront
Selecting a Theme
Pick a theme that fits your brand and matches how you want customers to browse. Shopify offers free and paid options. You can find Shopify themes for just about any style and budget.
- Think about how your products will show up.
- Look at built-in features like slideshows, galleries, and cart styles.
- Try out a live preview on desktop and mobile.
- Check theme updates and user ratings.
Customizing Your Layout
After you pick a theme, head to the store editor to tweak sections, text, and colors.
- Header and navigation: swap menus, add a search bar if you have lots of products.
- Home page sections: drag and drop banners, featured collections, or testimonials.
- Product pages: choose where to put images, descriptions, and variants.
- Footer: list links like FAQ, contact info, and social profiles.
Remember to hit “Save” after each change so you don’t lose your work.
- Use simple fonts, no more than two styles.
- Stick to your brand’s color palette.
- Keep buttons and links easy to spot.
Adding Your Logo and Branding
Start with a clear, high-res logo in PNG or SVG. Place it in the header so it shows on every page. Then pick a favicon that matches.
Your logo is the face of your store, so make it count.
- Make sure it scales well on desktop and mobile.
- Match your logo colors with button and link colors.
- Keep branding consistent: use same tone in your banners and headers.
- Test your logo on light and dark backgrounds.
Now your store looks like you, and it’s ready for products and payments.
Adding Products to Your Store

Alright, so you've got your Shopify store looking pretty good. Now it's time to actually, you know, sell something! Adding products is where the rubber meets the road. It might seem a little tedious at first, but once you get the hang of it, it's a breeze. Plus, well-presented products are key to making sales. Let's get into it.
Uploading Product Images
First things first, you gotta have good pictures. I mean, really good pictures. People can't physically touch your product, so the images are all they have to go on. Make sure they're high-resolution, well-lit, and show the product from multiple angles. Think about it: would you buy something if the pictures were blurry and you couldn't really see what you were getting? Probably not. Here's a few things to keep in mind:
- Use a consistent background for all your product photos. It makes your store look way more professional.
- Show the product in use. People want to see how it works or how it looks in real life.
- Don't be afraid to use close-ups to highlight details. Little things can make a big difference.
Writing Compelling Descriptions
Okay, you've got the killer photos. Now you need words. And not just any words. You need descriptions that sell. Think about your target audience and what they want to know. What are the benefits of your product? What problems does it solve? Don't just list features; tell a story. Make them want it. Also, keep these points in mind:
- Use clear and concise language. No one wants to wade through a wall of text.
- Highlight the key benefits in bullet points. Easy to read and scan.
- Include keywords that people might use to search for your product. Product descriptions are important for SEO, after all.
Don't just copy and paste the manufacturer's description. That's boring and everyone else is doing it. Take the time to write something original and engaging. It'll pay off in the long run.
Setting Prices and Variants
Alright, the final piece of the puzzle: pricing. This is where things can get a little tricky. You need to find a balance between making a profit and being competitive. Research what similar products are selling for, and factor in your costs (materials, labor, shipping, etc.). Don't be afraid to experiment a little, but always keep an eye on your margins. Also, if your product comes in different sizes, colors, or styles, you'll need to set up variants. Here's a quick rundown:
- Consider offering different price points for different variants. A larger size might cost more, for example.
- Make sure your pricing is consistent across all your sales channels, like Facebook or Instagram.
- Don't forget to factor in taxes and shipping costs when setting your prices. No one likes surprises at checkout.
Here's an example of how you might structure your pricing for a t-shirt with different sizes:
Configuring Payment Options
Alright, let's talk about getting paid! This is where the magic happens, where visitors turn into paying customers. You need to make it as easy as possible for people to give you their money. No one wants a complicated checkout process.
Choosing Payment Gateways
First things first, you gotta pick your payment providers. Shopify gives you a bunch of options, and it's worth taking a little time to figure out which ones are the best fit for your business. Think about what your customers expect and what you're comfortable with.
Here's a few things to consider:
- Shopify Payments: This is Shopify's own payment gateway. It's usually the easiest to set up and can save you on transaction fees. Plus, it integrates super smoothly with your store.
- PayPal: A classic for a reason. Lots of people trust PayPal, and it can be a good way to reach a wider audience.
- Third-Party Gateways: There are tons of other options out there, like Stripe, Authorize.net, and more. These might offer specific features or lower fees depending on your business model.
Don't just pick the first one you see. Compare the fees, features, and security of each gateway to make sure you're getting the best deal. Also, think about what payment methods you want to accept. Credit cards are a must, but what about Apple Pay, Google Pay, or even cryptocurrency?
Setting Up Taxes
Taxes... yeah, nobody likes dealing with them, but it's a must. Shopify can help you automate a lot of this, but you still need to understand the basics. Basically, you need to tell Shopify where you're located and where you're selling to. Then, Shopify can calculate the correct sales tax for each order.
Here's a quick rundown:
- Go to your Shopify settings and find the "Taxes" section.
- Enter your business address. This is important because it determines your base tax rate.
- Set up tax rates for different regions. You might need to charge different rates depending on where your customers are located.
It might be a good idea to talk to a tax professional to make sure you're doing everything right, especially if you're selling internationally. Tax laws can be complicated, and you don't want to mess them up.
Understanding Transaction Fees
Okay, let's talk money again. Every time someone buys something from your store, you're going to pay a transaction fee. This is basically the cost of processing the payment. The amount you pay depends on a few things, like your Shopify plan and the payment gateway you're using.
Here's a breakdown of the typical fees:
| Fee Type | Description
Setting Up Shipping and Delivery
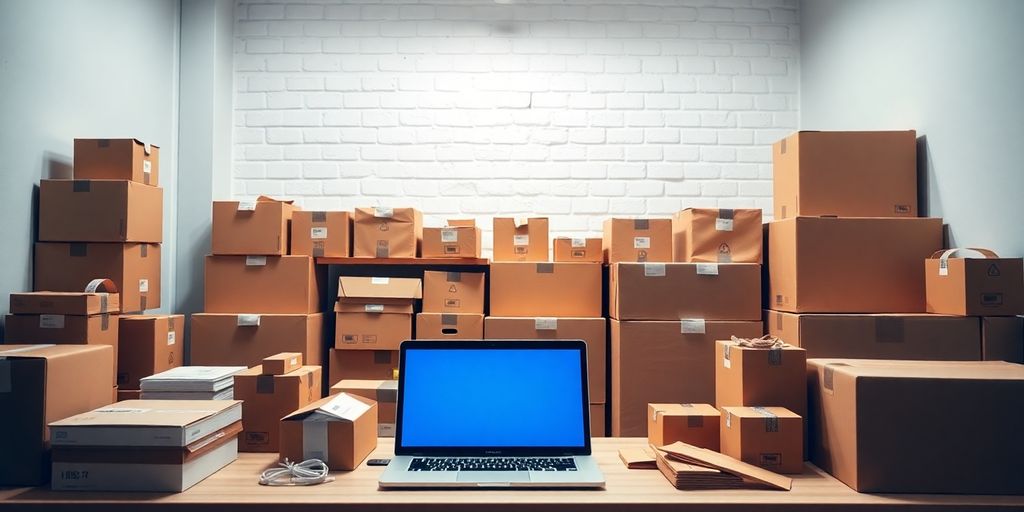
Alright, let's talk about getting your products from your store to your customers' doorsteps. This part can seem tricky, but trust me, once you get the hang of it, it's smooth sailing. We'll break down how to set up your shipping and delivery options so you can offer the best experience possible.
Defining Shipping Zones
First things first, you need to tell Shopify where you're willing to ship. This is where shipping zones come in. Think of them as geographical areas with specific shipping rules. You might have one zone for the US, another for Canada, and then separate zones for the rest of the world.
- Go to Settings > Shipping and Delivery in your Shopify admin.
- Click "Create shipping zone."
- Name your zone (e.g., "United States").
- Select the countries or regions that belong to this zone.
Setting up your shipping zones correctly is super important. It ensures that customers are charged the right amount for shipping, and it helps you avoid any unexpected costs down the line. Take your time and double-check everything!
Choosing Shipping Methods
Now that you've defined your zones, it's time to decide how you'll actually get the goods to your customers. You've got a few options here, each with its own pros and cons. You can use calculated rates, flat rates, or even offer free shipping. If you want to enable local delivery, you can do that too.
- Calculated Rates: These are real-time rates provided by shipping carriers like USPS, UPS, and FedEx. Shopify integrates with these carriers to give your customers the most accurate shipping costs based on package weight, dimensions, and destination. This can be great for accuracy, but it can also fluctuate.
- Flat Rates: With flat rates, you charge a fixed amount for shipping, regardless of the actual cost. This is simple and predictable, but you need to make sure your rates cover your expenses. Consider offering free shipping for orders over a certain amount to entice customers.
- Free Shipping: Everyone loves free shipping! You can offer it on all orders, on orders over a certain amount, or only to specific regions. Just make sure you factor the cost of shipping into your product prices or profit margins.
Calculating Shipping Costs
Okay, this is where the math comes in, but don't worry, it's not too scary. You need to figure out how much it's going to cost you to ship your products so you can set your rates accordingly. Here's what to consider:
- Packaging Costs: Boxes, bubble wrap, tape – it all adds up. Factor these costs into your shipping rates.
- Shipping Carrier Rates: Check the rates for different carriers and services (e.g., ground, express) to see which ones fit your budget and delivery needs. If you use Shopify Shipping, you can often get discounted rates.
- Weight and Dimensions: Shipping costs are often based on weight and dimensions, so make sure you accurately weigh and measure your products and packaging.
Getting your shipping strategy right can really boost your sales. Don't be afraid to experiment with different options to see what works best for your business and your customers.
Launching Your Store
Alright, so you've put in the work, and now it's time for the big moment: launching your Shopify store! This is where all your efforts come together, and you finally get to see your online business take flight. It can feel a little scary, but with a solid plan, you'll be just fine. Let's walk through the final steps to make sure everything goes smoothly.
Testing Your Checkout Process
Before you announce your store to the world, you absolutely need to test your checkout process. Seriously, don't skip this! Imagine customers getting all the way to checkout and then running into problems. Not a good look, right?
Here's what you should do:
- Place a test order: Go through the entire process yourself, from adding a product to your cart to entering your payment information. Use a test credit card number if your payment gateway offers one. This helps you see exactly what your customers will experience.
- Try different payment methods: If you're offering multiple payment options (like credit cards, PayPal, etc.), test them all. Make sure each one works correctly and that the payment is processed smoothly.
- Check shipping calculations: Verify that shipping costs are being calculated accurately based on the customer's location and the weight/dimensions of the products. Nobody likes surprise shipping fees!
Testing your checkout is like doing a dress rehearsal before a big performance. It helps you catch any glitches or errors before they affect your real customers. Trust me, a little testing now can save you a lot of headaches later.
Creating a Launch Plan
Okay, so you've got a killer store, products are loaded, and the checkout works. Now what? You need a launch plan! Don't just flip the switch and hope for the best. A little planning can go a long way in making your launch a success. Think about it – you've put all this effort into building your store; let's make sure people actually know about it!
Here are some things to consider for your launch plan:
- Set a launch date: Having a specific date in mind will help you stay focused and motivated. Plus, it gives you a deadline to work towards.
- Create a marketing calendar: Plan out your marketing activities for the weeks leading up to and following your launch. This could include social media posts, email campaigns, blog posts, and more. Consider using creative content to attract your audience.
- Prepare your customer service: Be ready to handle customer inquiries and potential issues. Make sure you have a system in place for responding to emails, messages, and phone calls promptly.
Promoting Your Store
Alright, your store is live, and the checkout is working perfectly. Now, let's get some customers! Promoting your store is all about getting the word out and driving traffic to your site. There are tons of ways to do this, so let's explore some options.
Here are a few ideas to get you started:
- Social Media: Use platforms like Instagram, Facebook, and TikTok to showcase your products and engage with potential customers. Run targeted ads to reach specific demographics.
- Email Marketing: Build an email list and send out newsletters, promotions, and product updates. Offer a discount for new subscribers to incentivize sign-ups.
- Search Engine Optimization (SEO): Optimize your website and product pages for search engines like Google. Use relevant keywords in your titles, descriptions, and content to improve your search rankings.
Ongoing Store Management
Alright, so you've launched your Shopify store – congrats! But the work doesn't stop there. Think of it like this: you've planted a garden, now you gotta water it, weed it, and make sure it thrives. Ongoing management is all about keeping your store healthy and growing. Let's get into the nitty-gritty.
Tracking Sales and Analytics
Keeping an eye on your numbers is super important. You need to know what's working and what's not. Shopify has some pretty decent built-in analytics, but you might also want to hook up Google Analytics for even more insights. Here's what you should be watching:
- Sales Trends: Are your sales going up, down, or staying the same? Look at daily, weekly, and monthly trends to spot patterns. This helps you understand if your marketing efforts are paying off or if you need to tweak your strategy.
- Top-Selling Products: Which products are flying off the virtual shelves? Focus on promoting these more and consider bundling them with slower-moving items. Understanding product sales is key to making smart inventory decisions.
- Customer Behavior: How are people using your site? Where are they clicking? Where are they dropping off? Use this info to improve your site's design and make it easier for people to buy stuff.
Analyzing traffic and sales data, and refining your content in response, should become a regular part of your business strategy. It's not a one-time thing; it's an ongoing process.
Managing Inventory
Running out of stock is a bummer, and having too much stock ties up your cash. Here's how to keep your inventory in check:
- Regular Audits: Do a physical count of your inventory every so often to make sure your numbers match what's in the system. Trust me, discrepancies happen.
- Set Up Low-Stock Alerts: Configure Shopify to send you an email when your inventory for a particular product gets low. This gives you time to reorder before you run out.
- Use Inventory Management Software: If you're dealing with a lot of products, consider using a dedicated inventory management app. These apps can automate a lot of the process and help you avoid costly mistakes.
Engaging with Customers
Happy customers are repeat customers. Here's how to keep them happy:
- Respond to Inquiries Quickly: Answer emails, messages, and comments as soon as possible. People expect quick responses these days.
- Provide Excellent Customer Service: Be friendly, helpful, and go the extra mile to solve problems. A little bit of kindness can go a long way.
- Ask for Feedback: Send out surveys or ask for reviews after a purchase. This gives you valuable insights into what you're doing well and what you can improve. You can also use email marketing to keep your brand top-of-mind and engage shoppers throughout their journey.
| Metric | Why It Matters | the content of the h2
Managing your store is an ongoing task that can really help your business grow. With the right tools, you can get support, chat with customers, and check your sales data easily. If you want to learn more about how to improve your store management, visit our website today!
Wrapping It Up
So there you have it! Setting up your Shopify store in 2025 isn’t as scary as it seems. Just take it step by step, and remember, it’s all about making it work for you. Whether you’re selling handmade crafts or dropshipping the latest gadgets, Shopify has the tools to help you succeed. Don’t forget to keep tweaking and improving your store as you go. The more you learn, the better your store will get. Now, go ahead and launch that store! You’ve got this!
Frequently Asked Questions
Is Shopify beginner-friendly?
Absolutely! Shopify is designed to be easy for newcomers to use. You can start with a free trial and see how it works for you.
What do I need to start a Shopify store?
To start, you need to create a Shopify account, choose a plan, and set up your store's design and products.
How much does it cost to use Shopify?
Shopify plans start at $1 for the first month during a special offer, then it goes to $39 per month after that.
Can I customize my store's look?
Yes! You can choose from many themes and customize them to fit your brand's style.
What payment options can I use with Shopify?
Shopify supports various payment gateways like PayPal, Stripe, and others, making it easy to accept payments.
How do I promote my Shopify store?
You can promote your store through social media, email marketing, and online ads to reach more customers.